Typical Connections
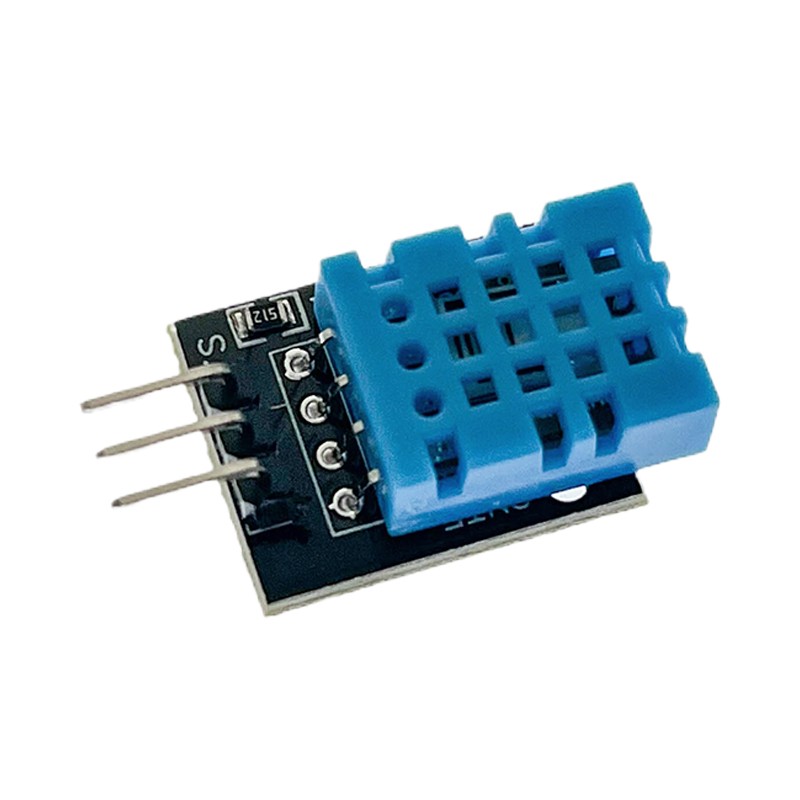
DHT11 sensor modules commonly provide three pins labelled VCC, DATA or OUT, and GND. Always check the labels printed on your particular module before connecting it.
DHT11 VCC  -> Arduino 5V
DHT11 DATA -> Arduino Digital Pin 2
DHT11 GND  -> Arduino GND
Many DHT11 breakout modules already include the required pull-up resistor on the data line. If you are using a bare four-pin DHT11 sensor instead of a breakout module, an external pull-up resistor may be required.
Required Arduino Library
A convenient way to use the DHT11 with Arduino is with the DHT Sensor Library by Adafruit. You may also need the Adafruit Unified Sensor library depending on the version installed.
Both can be installed through the Arduino IDE Library Manager.
Arduino Example Code
#include <DHT.h>

#define DHTPIN 2
#define DHTTYPE DHT11

DHT dht(DHTPIN, DHTTYPE);

void setup() {
  Serial.begin(9600);

  dht.begin();

  Serial.println("DHT11 Temperature & Humidity Sensor");
}

void loop() {

  float humidity = dht.readHumidity();
  float temperature = dht.readTemperature();

  if (isnan(humidity) || isnan(temperature)) {
    Serial.println("Failed to read from DHT11 sensor");
    delay(2000);
    return;
  }

  Serial.print("Temperature: ");
  Serial.print(temperature);
  Serial.println(" °C");

  Serial.print("Humidity: ");
  Serial.print(humidity);
  Serial.println(" %");

  Serial.println();

  delay(2000);
}
Example Serial Monitor Output
Temperature: 24.0 °C
Humidity: 58.0 %

Temperature: 24.0 °C
Humidity: 59.0 %
The readings can then be used to control fans, alarms, displays, data logging systems, ventilation equipment or other devices.
Temperature Measurement
Temperature can be read in degrees Celsius using:
float temperature = dht.readTemperature();
If Fahrenheit is required, the Adafruit library can also return the temperature directly in Fahrenheit.
float temperatureF = dht.readTemperature(true);
Humidity Measurement
Relative humidity is returned as a percentage using:
float humidity = dht.readHumidity();
For example, a reading of 60% means that the air contains approximately 60% of the moisture it could hold at the current temperature before reaching saturation.
Important: Do Not Read the DHT11 Too Quickly
The DHT11 is a relatively slow sensor and should not be repeatedly polled at very short intervals. Allow approximately two seconds between readings for reliable operation.
delay(2000);
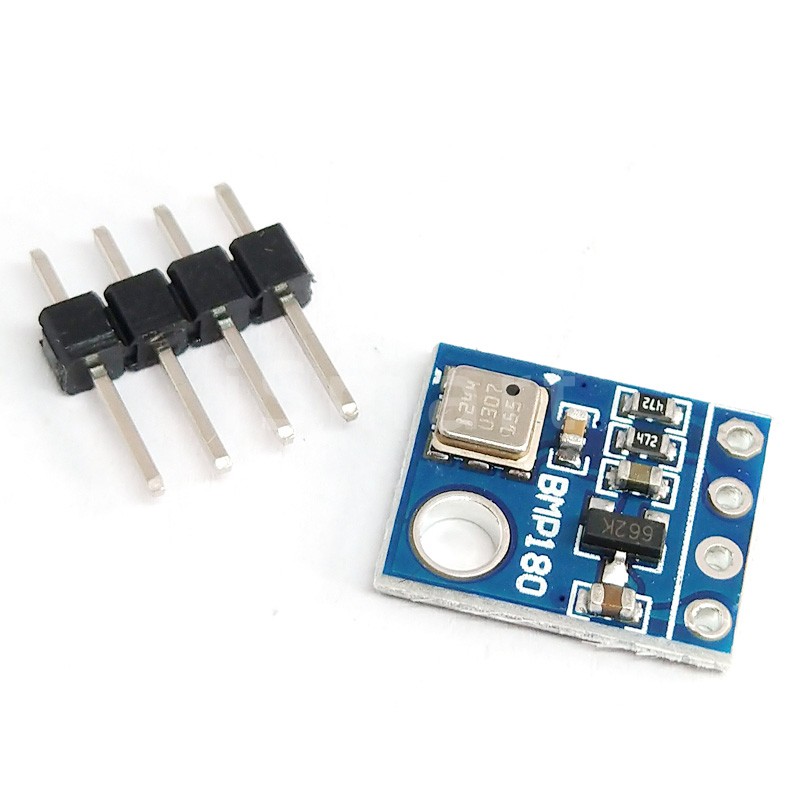
If your project needs faster environmental measurements, another sensor such as the AHT10, SHT-series, BME280 or similar digital sensor may be more suitable.
Example: Automatic Fan Control
Temperature readings from the DHT11 can be used to activate a fan when the environment becomes too warm.
#include <DHT.h>

#define DHTPIN 2
#define DHTTYPE DHT11
#define FAN_PIN 7

DHT dht(DHTPIN, DHTTYPE);

void setup() {
  Serial.begin(9600);

  pinMode(FAN_PIN, OUTPUT);

  dht.begin();
}

void loop() {

  float temperature = dht.readTemperature();

  if (isnan(temperature)) {
    Serial.println("DHT11 read failed");
    delay(2000);
    return;
  }

  if (temperature >= 30.0) {
    digitalWrite(FAN_PIN, HIGH);
  } else {
    digitalWrite(FAN_PIN, LOW);
  }

  Serial.print("Temperature: ");
  Serial.print(temperature);
  Serial.println(" °C");

  delay(2000);
}
In a real fan-control project, the Arduino output should normally drive a suitable relay, transistor or MOSFET rather than powering a fan directly from the GPIO pin.
Example: High Humidity Alert
The humidity reading can also be compared against a threshold to trigger an alarm or ventilation system.
if (humidity > 70.0) {
  Serial.println("High humidity detected");
}
This can be useful in storage areas, indoor growing environments, enclosures and other locations where excessive moisture needs to be detected.
Using the DHT11 with ESP32
The DHT11 can also be used with an ESP32. Connect the sensor's data output to a suitable ESP32 GPIO pin and configure the same pin number in your program.
DHT11 VCC  -> Suitable Supply
DHT11 GND  -> ESP32 GND
DHT11 DATA -> ESP32 GPIO
Check the exact breakout module specifications before selecting its supply voltage, particularly when working with 3.3V microcontrollers.
DHT11 Accuracy and Limitations
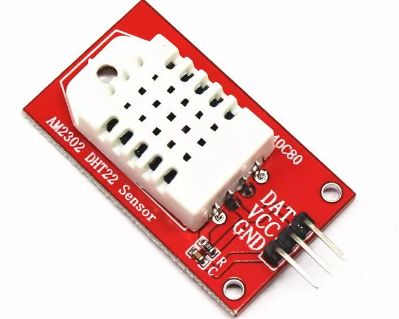
The DHT11 is intended as an inexpensive general-purpose sensor rather than a precision environmental instrument. Its resolution, accuracy and operating range are more limited than newer sensors such as the DHT22, AHT10 or BME280.
It remains an excellent choice for beginner projects, demonstrations, simple automation and applications where approximate environmental readings are sufficient.
Common Applications
- Indoor temperature monitoring
- Humidity monitoring
- DIY weather stations
- Greenhouse projects
- Automatic ventilation systems
- Fan control
- Environmental data logging
- Smart home projects
- Arduino and ESP32 projects
- Electronics experiments
- STEM education projects
Sensor Placement
Position the DHT11 where air can circulate naturally around the sensor. Avoid mounting it immediately beside voltage regulators, processors, power supplies, motors or other components that generate heat.
Heat generated by nearby electronics can cause the measured temperature to be higher than the true ambient temperature.
Important Usage Tips
Do not expose the sensor directly to water or condensation. The DHT11 measures humidity in the surrounding air but is not designed to operate as a waterproof moisture sensor.
If measurements will be used for critical environmental control, consider using a higher-accuracy sensor and include suitable failsafe behaviour in the control system.
For best results, allow the sensor time to stabilise after power-up and avoid placing it directly in front of heaters, air conditioners, fans or other sources that may produce localised temperature or humidity conditions.



 Arduino Modules & Sensors
 Battery Compartments
 Component Cases
 Electronics Kits
 Microcontroller Boards
 Project Enclosures
 Shields & Hats
 Tablets
 Laptops
 Laptop Accessories
 CPU (Processor)
 CPU Coolers
 GPU (Graphics)
 HDD/ SSD (Storage)
 MOBO (Motherboard)
 PSU (Power Supply)
 RAM (Memory)
 Keyboard & Mouse Combo
 Keyboards
 Printers
 USB