Arduino Example Code
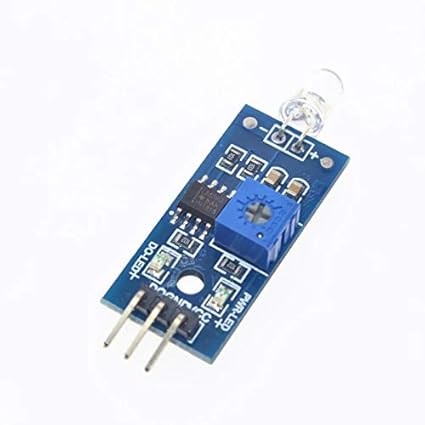
const int lightSensorPin = A0;

void setup() {
  Serial.begin(9600);
}

void loop() {
  int lightLevel = analogRead(lightSensorPin);

  Serial.print("Light Level: ");
  Serial.println(lightLevel);

  delay(500);
}
Typical Wiring
Sensor VCC -> Arduino 5V
Sensor GND -> Arduino GND
Sensor OUT -> Arduino A0
Automatic Night Light Example
const int lightSensorPin = A0;
const int ledPin = 13;

void setup() {
  pinMode(ledPin, OUTPUT);
}

void loop() {
  int lightLevel = analogRead(lightSensorPin);

  if (lightLevel < 300) {
    digitalWrite(ledPin, HIGH); // Dark environment
  } else {
    digitalWrite(ledPin, LOW);  // Bright environment
  }

  delay(100);
}
Understanding the Readings
The sensor outputs an analog value that typically ranges from 0 to 1023 when used with most Arduino boards. The exact values will vary depending on the module design and ambient lighting conditions.
- Lower values generally indicate darker conditions.
- Higher values generally indicate brighter conditions.
- Calibration may be required for your specific application.
- Direct sunlight will produce significantly higher readings than indoor lighting.
Common Applications
- Automatic night lights
- Day and night detection systems
- Solar tracking projects
- Environmental monitoring
- Light-activated alarms
- Arduino and STEM education projects
Usage Tips
For the most accurate readings, avoid placing the sensor near reflective surfaces or strong artificial light sources unless they are part of the intended application. Mounting the sensor in a stable position can help provide more consistent measurements.
Combining a photosensitive sensor with relays, LEDs, displays, or automation systems can create smart lighting and energy-saving projects with minimal hardware requirements.



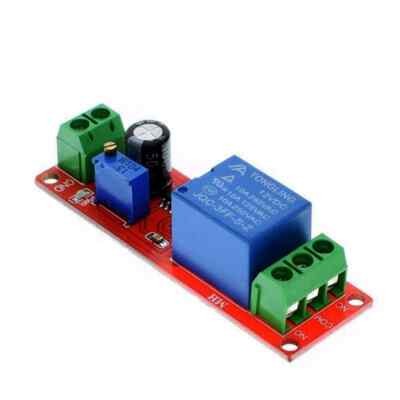
 Arduino Modules & Sensors
 Battery Compartments
 Component Cases
 Electronics Kits
 Microcontroller Boards
 Project Enclosures
 Shields & Hats
 Tablets
 Laptops
 Laptop Accessories
 CPU (Processor)
 CPU Coolers
 GPU (Graphics)
 HDD/ SSD (Storage)
 MOBO (Motherboard)
 PSU (Power Supply)
 RAM (Memory)
 Keyboard & Mouse Combo
 Keyboards
 Printers
 USB