Typical Electrical Specifications
Nominal Voltage: 4V
Rated Current:   Up to approximately 60mA
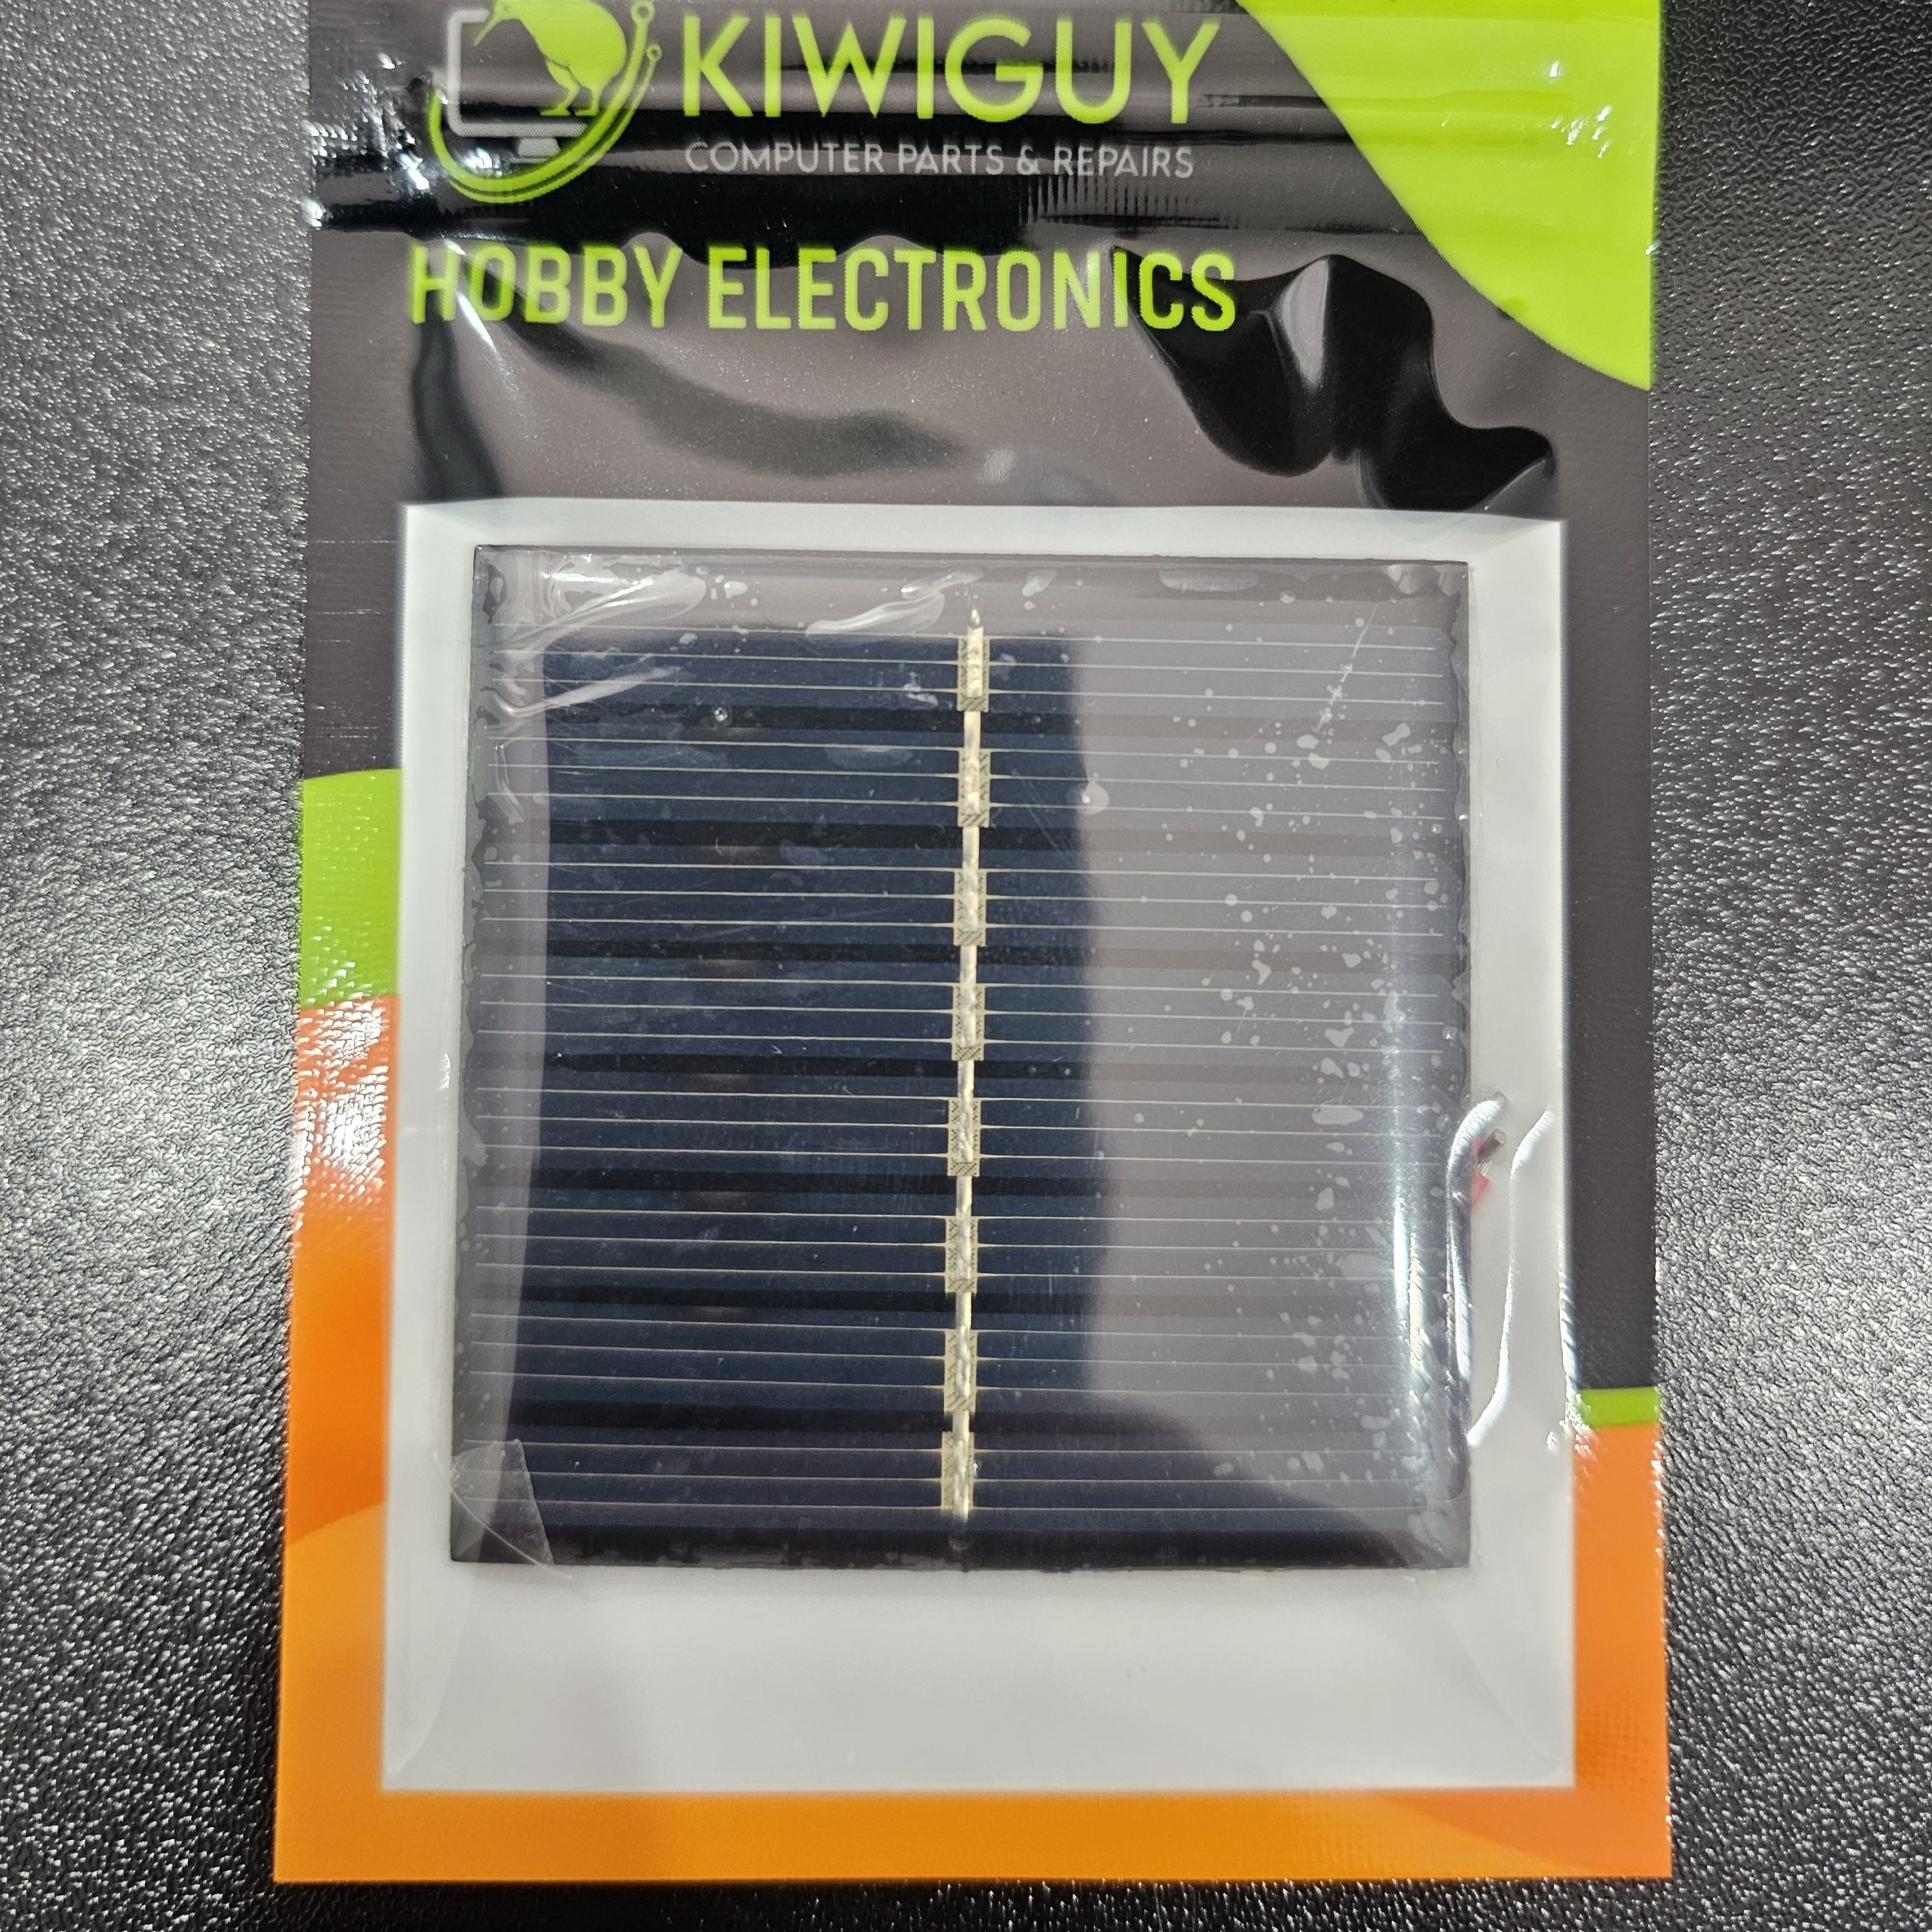
Panel Size:      55mm × 55mm
Output Type:     DC
Power Output:    Approximately 0.24W under rated conditions
The stated current and voltage are typically measured under favourable lighting conditions. Indoor lighting will usually produce substantially less power than direct sunlight.
Basic Wiring
Solar Panel + -> Positive input of your circuit
Solar Panel - -> Ground / Negative input
Always confirm polarity before connecting the panel to sensitive electronics. A multimeter can be used to identify the positive and negative terminals and measure the panel's output voltage.
Testing the Panel with a Multimeter
- Set your multimeter to DC voltage.
- Connect the red probe to the positive terminal.
- Connect the black probe to the negative terminal.
- Place the panel in direct sunlight.
- Observe the voltage reading.
You may see a voltage somewhat above or below the nominal 4V depending on the amount of light and whether the panel is connected to a load.
Example: Powering a Small LED
A simple solar demonstration can be made by powering a low-current LED through a suitable current-limiting resistor.
Solar Panel +
     |
     v
Current-Limiting Resistor
     |
     v
LED
     |
     v
Solar Panel -
The LED brightness will change with the available sunlight, making this a useful experiment for demonstrating the relationship between light intensity and solar power generation.
Using the Solar Panel with Arduino
This small panel should generally not be expected to directly and reliably power a complete Arduino board on its own. An Arduino may consume more current than the panel can provide, especially when displays, sensors, wireless modules, or other peripherals are connected.
A more practical arrangement is to use the panel to charge an energy-storage device through a suitable charging circuit and then power the microcontroller from the stored energy.
Solar Panel
    |
    v
Suitable Charge Controller
    |
    v
Battery / Supercapacitor
    |
    v
Voltage Regulator
    |
    v
Arduino / Sensor Circuit
Important: Do Not Connect Directly to Rechargeable Batteries
Rechargeable batteries should not normally be connected directly to the solar panel without an appropriate charging circuit. Lithium-ion, LiPo, LiFePO4, NiMH, and lead-acid batteries each require suitable charging methods and voltage limits.
Use a charger designed for the specific battery chemistry and ensure that the panel can provide a suitable voltage for the charging circuit being used.
Series and Parallel Connections
Multiple matching solar panels can be combined to increase the available voltage or current.
Panels in Series
Panel 1 + ---- Load ---- Panel 2 -
         |               |
         +---- Series ---+

Approximate result:
Voltage increases
Current capacity remains similar
For example, two similar 4V panels connected in series may provide approximately 8V under suitable conditions.
Panels in Parallel
Panel 1 + ----+
              +---- Positive Output
Panel 2 + ----+

Panel 1 - ----+
              +---- Negative Output
Panel 2 - ----+
Connecting matching panels in parallel keeps the voltage approximately the same while increasing the available current.
Common Applications
- Solar energy experiments
- STEM and classroom projects
- Low-power sensor projects
- Miniature solar-powered devices
- Battery charging demonstrations
- Solar garden projects
- Robotics experiments
- Renewable energy demonstrations
- DIY electronics projects
- Supercapacitor charging experiments
Getting the Best Output
Solar panels produce the most power when strong light strikes the panel surface directly. Position the panel so that it faces the sun as squarely as possible and avoid shading even a small part of the active surface.
Clouds, windows, indoor lighting, panel angle, dirt, and shadows can all significantly reduce the available current.
Important Usage Tips
Always design your project around the panel's realistic available power rather than assuming that 60mA will be available at all times. The rated current represents favourable operating conditions and will decrease significantly in weaker light.
If your project must operate overnight or during cloudy weather, include a suitable rechargeable battery or other energy-storage system and ensure that the solar panel is large enough to replenish the energy consumed by the load.
For outdoor installations, protect electrical connections from moisture and corrosion while keeping the active solar surface unobstructed.




 Arduino Modules & Sensors
 Battery Compartments
 Component Cases
 Electronics Kits
 Microcontroller Boards
 Project Enclosures
 Shields & Hats
 Tablets
 Laptops
 Laptop Accessories
 CPU (Processor)
 CPU Coolers
 GPU (Graphics)
 HDD/ SSD (Storage)
 MOBO (Motherboard)
 PSU (Power Supply)
 RAM (Memory)
 Keyboard & Mouse Combo
 Keyboards
 Printers
 USB